

Welcome to the website of Kurt Hagen.
The name of the website is derived from the fact that my family crest contains 5 stars and a moon.
Welcome to the website of Kurt Hagen.
The name of the website is derived from the fact that my family crest contains 5 stars and a moon.
(Windows Utility Program)

Log Viewer is a custom-made freeware tool for viewing text files, specifically log files. The text viewing portion of the GUI is custom-made for improved memory usage and file navigating performance on very large files.
The tool provides built-in grep (show and hide filtering on a line per line basis), color highlighting, multiple search strings, file tailing, and viewing multiple files as if they were one file.
Log Viewer is distributed as freeware. If you use this software and enjoy it, then please make a donation to acknowledge my effort on Paypal.
(Java Utility Program)
Money CSV is a custom-made freeware tool for managing your personal finances. I developed Money CSV as I couldn’t find a free software program that provided the capabilities of Microsoft Money, which was an awesome personal finance program, but it is sadly no longer supported. Money CSV is designed to be a good “light” alternative to Microsoft Money as the program does not support direct downloading of transactions from financial institutions but it does support importing of downloaded transaction files (OFX, QFX and QIF). The program does provide a convenient reconcile capability that allows for easy importing/reconciling of imported transactions against existing transactions in a Money CSV account. Money CSV supports stock price updates if you get a key for the Yahoo Finance (YH Finance) API from RapidAPI.com. The intro level API key is free, and you get 500 downloads per month of all your stocks, which is plenty of downloads as one typically just updates once a day. Money CSV has many of the features that I loved from Microsoft Money: transfers, reoccurring bills, budgeting, net worth tracking, and many reports. The net worth tracking is just a CSV file of snapshots of your net worth over time but taking a monthly or quarterly snapshot is trivial in Money CSV. Other features include account virtual overdraft (impacts displayed balance on the Summary page, which is useful if an account has a minimum balance to prevent fees), goal balance for your targeted savings accounts, alternative currencies for accounts/stocks (automatic exchange rate updates available through the integrated YH Finance), automatic loan payment principal calculations based on the loan’s annual interest rate and payments per year, and automatic backup of your CSV files to a rolling set of ZIP files. The program also allows you to use custom icons for your financial institution, which is just a nice-to-have feature. Finally, my day job is an embedded software engineer, so I designed the program to be fast and memory efficient. I make heavy use of background threads and I used a custom designed table view to ensure that the viewing of accounts with lots of transactions is very fast.


The main advantage of this Money CSV is that all account transactions are stored in CSV text files rather than a hard to read database format. This means that your financial data is always stored locally (or on your own cloud) and your financial data is always accessible as the data is stored in human readable text files. It also means that you can import financial information from any program or financial institution that allows export/download in CSV or any other spreadsheet format. The main caveat is that you need to be very experienced with spreadsheets to get the data to match the CSV format that is required by Money CSV. Personally, I manually enter all transactions as I like to closely monitor my finances. I did try to make the status reporting (i.e., CSV reading issues) when reading the CSV file as helpful and as robust as possible as I also had to export data from Microsoft Money to CSV files through Microsoft Excel (I hadn't implemented QIF importing yet). Luckily, once you successfully transfer one account, then subsequent accounts get much easier. For example, I transferred 25 accounts in about two hours but of course I am quite familiar with Money CSV. With the latest version, the program has been updated to allow importing of QIF format which is the Microsoft Money export format. Note that importing of transactions is not supported for investment accounts.
Money CSV is a single Java JAR file (requires the installation of the latest Java JRE 8). The simple installation process requires you to create a new directory to store all your financial information (i.e., the CSV files) and copy the JAR file to this location and launch the JAR. Your initial importing of data from other programs/formats (via CSV files or OFX, QFX and QIF) will be the biggest hurdle but the great news is that once you complete all imports then it is smooth sailing. You will not need to use an external spreadsheet program unless you want to download transactions from your financial institutions in CSV format (i.e., importing is supported for only OFX, QFX and QIF files). The OFX format may be referred to as Open Financial Exchange or Microsoft Money format. The QFX format may be referred to as Quicken Financial Exchange format. The QIF format may be referred to as Quicken Interchange Format / Microsoft Money Export format. Besides the JAR file, I have also provided an icon for download which makes a desktop short-cut a little more meaningful as you can customize the short-cut's icon.
Money CSV is distributed as freeware. If you use this software and enjoy it, then please make a donation to acknowledge my effort on Paypal.

(Windows Utility Program)
I developed ForgetNot using Java because I was unable to find a reminder program with a small footprint for the Windows operating system (i.e. the program runs in the system tray).
This program is designed for annual reminders such as birthdays, anniversaries, etc. The program provides a simple database entry dialog box for all your reminders. When the program detects that it is time for the alarm for the reminder (for example, three days before the reminder), an alarm dialog box appears. The dialog can be "snoozed" for a selectable duration.
System tray icon access with a tooltip to show your upcoming reminders

Example pop-up reminder dialog box.

Reminder database entry and modification dialog. Access is available from the system tray icon.

(Windows Utility Program)
RobocopyKIS is a graphical interface to Microsoft's robocopy (Robust copy) tool, specifically its mirror mode where KIS means keep-it-simple. The mirror mode is ideal for home computer backups of a set of folders with unique names to an external USB drive. The intended use is to backup your User folders like Documents, Pictures, Videos, etc. to a directory location on a USB drive. The folder names are created on the USB drive and the contents mirrored (i.e., the contents of your User folders are exactly mirror under the target folder)to each unique folder. The contents of the destination are copied or deleted to match the contents on your main computer's User folders. The selection of folders allows one to only backup the data that they care about and not everything under the User's directory like the folder 3D Objects or other hidden folders like AppData that you may or may not want mirrored.

To use, create a backup configuration by selecting the folders that you want to backup (or mirror), select the location on your USB drive (like D:\backup), save the configuration on your computer and press the "Start Mirror" button. Going forward, all you need to do is run RobocopyKIS weekly or monthly and press the "Start Mirror" button to ensure that your files are safely backed up on your external USB drive (or any other location accessible by Windows via file explorer path).
RobocopyKIS is distributed as freeware. If you use this software and enjoy it, then please make a donation to acknowledge my effort on Paypal.
(Java Game Program)

The traditional Swiss-German 36 card trump-style game that is played with two teams of two players (you and an AI partner against two AI opponents). The game is also known as Schieber.
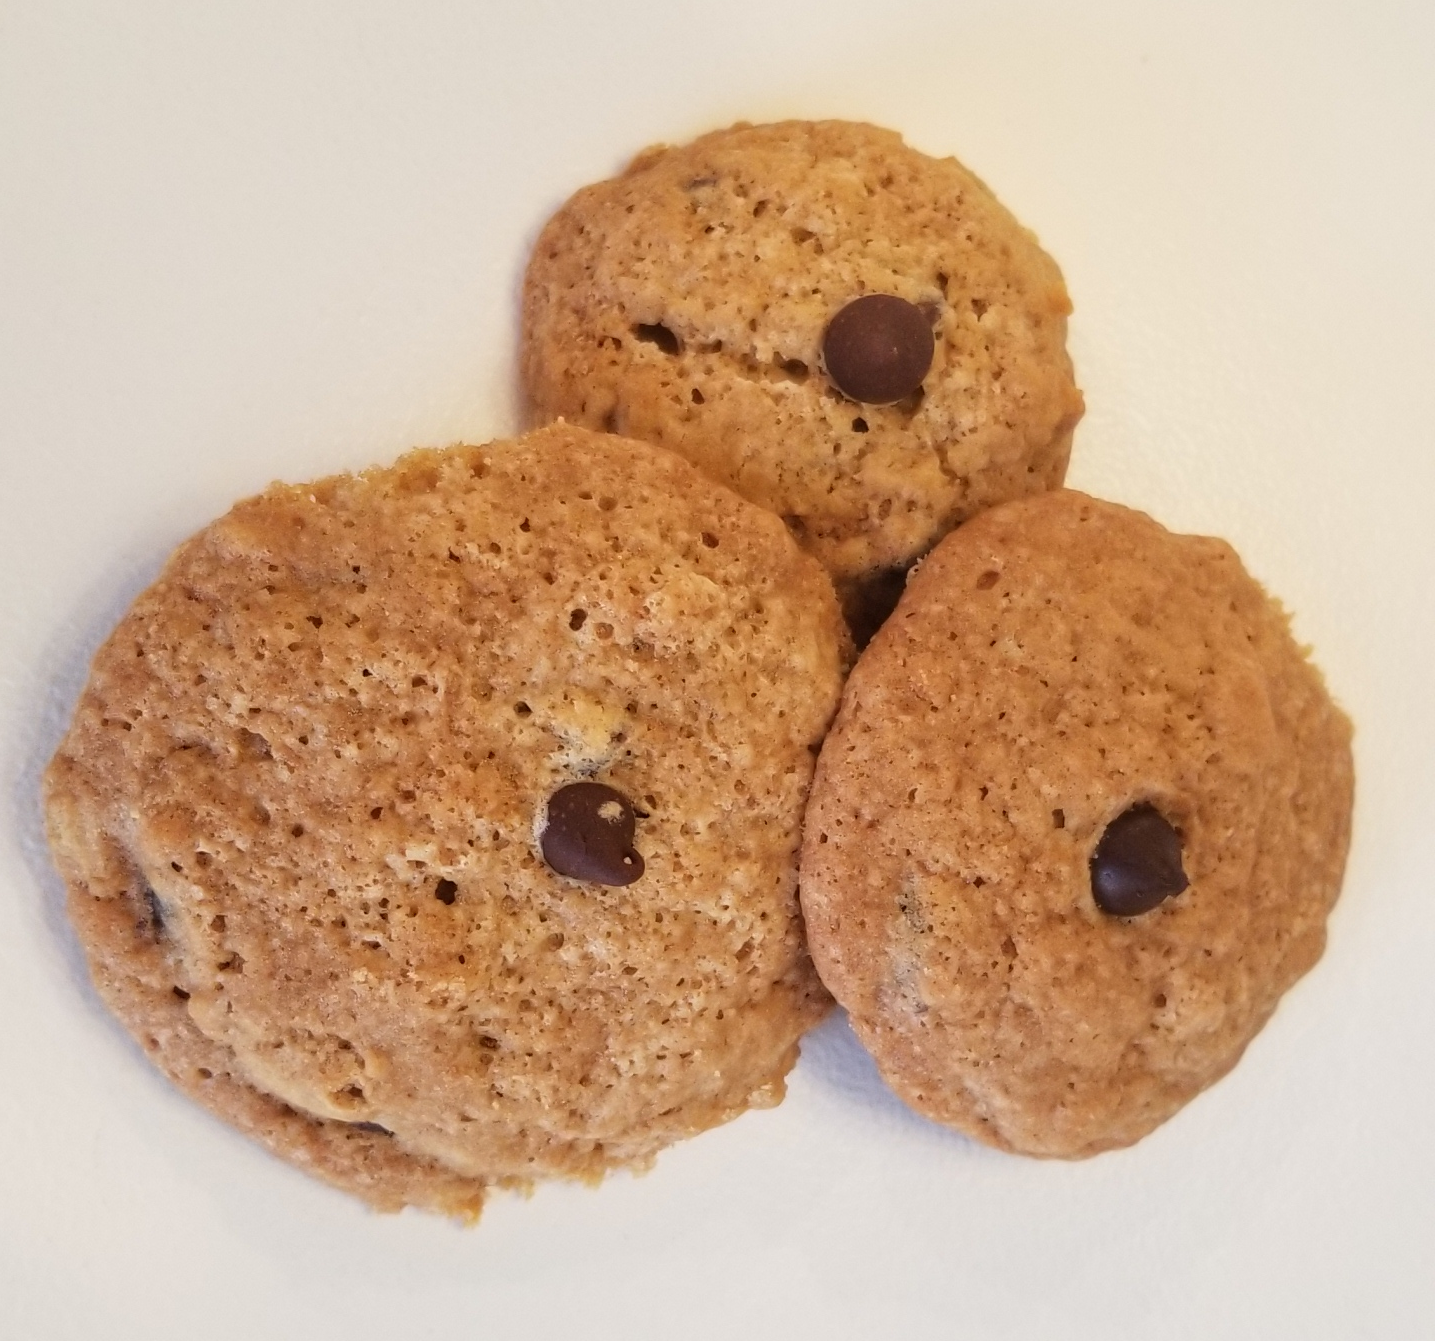
(Recipe)

(Recipe)

(Recipe)
Thanks for visiting!